Recording a Dialogue to Video
Libretto can record a generated dialogue to an mp4 file — handy for review, sharing a cut with the team, or archiving a reference of how a scene plays out. Recording is launched with the Record action and runs on top of Unreal's Movie Render Pipeline.
You can start it from any of the generation entry points:
- a Dialogue Instance ▸ Details ▸ General ▸ Record;
- the Libretto toolbar ▸ Dialogue Generation ▸ Record… (on the selected instance);
- right-click a Dialogue asset ▸ Libretto ▸ Record… (works on a multi-selection).
Windows only — nothing to install
Recording uses the Movie Render Pipeline's built-in H.264 MP4 output (Windows Media Foundation, part of Windows). No external encoder is needed or launched, and nothing is downloaded. Recording is Windows-only.
Requirements
The recorder plays back a dialogue's Master sequence, so the dialogue must have been generated first. If a selected dialogue has no Master sequence, it is skipped and an error is logged — nothing is recorded for it.
Because it builds on the Movie Render Pipeline, the plugin depends on the engine's Movie Render Pipeline plugin (enabled automatically), whose MP4 output does the encoding. No extra install is required.
The Record options
The Record action opens an options wizard. The dialogue(s) to record come from what you launched on (the selected instance's Input Dialogue, or the right-clicked asset(s)) — you do not list them here. The wizard exposes:
| Property | Purpose |
|---|---|
| Recording Config | A Movie Pipeline preset (UMoviePipelinePrimaryConfig) describing how each dialogue is rendered — resolution, output directory, anti-aliasing, and so on. Defaults to the shipped DialogueRecordingPreset (otherwise the project's first Movie Pipeline preset), and is remembered between recordings. |
| Subdialogues | The usual pre-checked subdialogue selection. |
Dialogue Settings in the config
The plugin adds a Dialogue Settings setting (ULBRMoviePipelineDialogueSettings) that you
can drop into your Movie Pipeline preset. When a job runs, Libretto fills its Dialogue field
automatically with the dialogue being recorded, so the preset knows which dialogue it is
rendering.
Recording
Pick a Recording Config, then press Run. For each target dialogue, Libretto:
- Clears the Movie Pipeline queue.
- Makes sure the job writes an mp4 with the native H.264 MP4 output (video + audio). If your Recording Config has no video output, one is added to the job; if it uses the engine's Command Line Encoder (an external program), that setting is removed from the job and a warning is logged.
- Creates one render job from the dialogue's Master sequence, applying your Recording Config, and forces the recording game mode on the job (the map's own game mode cannot drive the dialogue's cinematic cameras — the preset asset itself is left untouched).
- Renders the queue with the project's default local executor.
Each dialogue is rendered in turn; when the queue finishes, the mp4 files are on disk.
Output
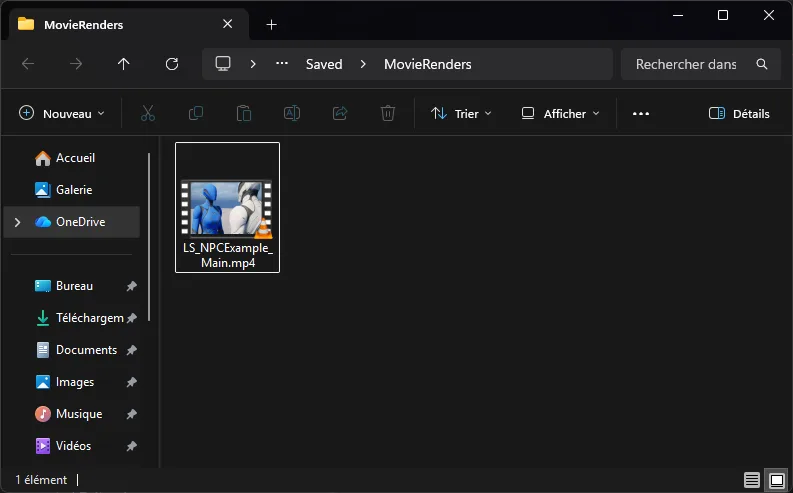
The mp4 files land in the output directory defined by your Recording Config (the Movie Pipeline
Output setting). A common choice is the project's Saved/MovieRenders folder — the Movie Render
Pipeline default.
Where exactly do the files go?
Libretto does not force an output path — it comes entirely from the Output setting of
the RecordingConfig preset you selected. If you can't find your recordings, check that
setting in the preset (its Output Directory and File Name Format).
Encoding quality
The shipped preset /Libretto/Tools/DialogueRecordingPreset uses the MP4 output's defaults
(quality-based H.264, audio included). To tune it, open the preset and edit its MP4 output
setting. Libretto only changes the render job — your preset asset and your project's Movie
Render Pipeline settings are left untouched.